In this post, I am so excited to be sharing my holy grail products and skincare routine for oily, acne prone skin that have completely transformed my skin in the past year! Even through the stress and late nights of medical school, these 9 products have helped prevent break outs and have also been an amazing at reducing the shine of my oily complexion. These skin care products are what I’ve been using on a daily basis and are a mixture of Korean skincare and affordable products that you can find at Target or Ulta.
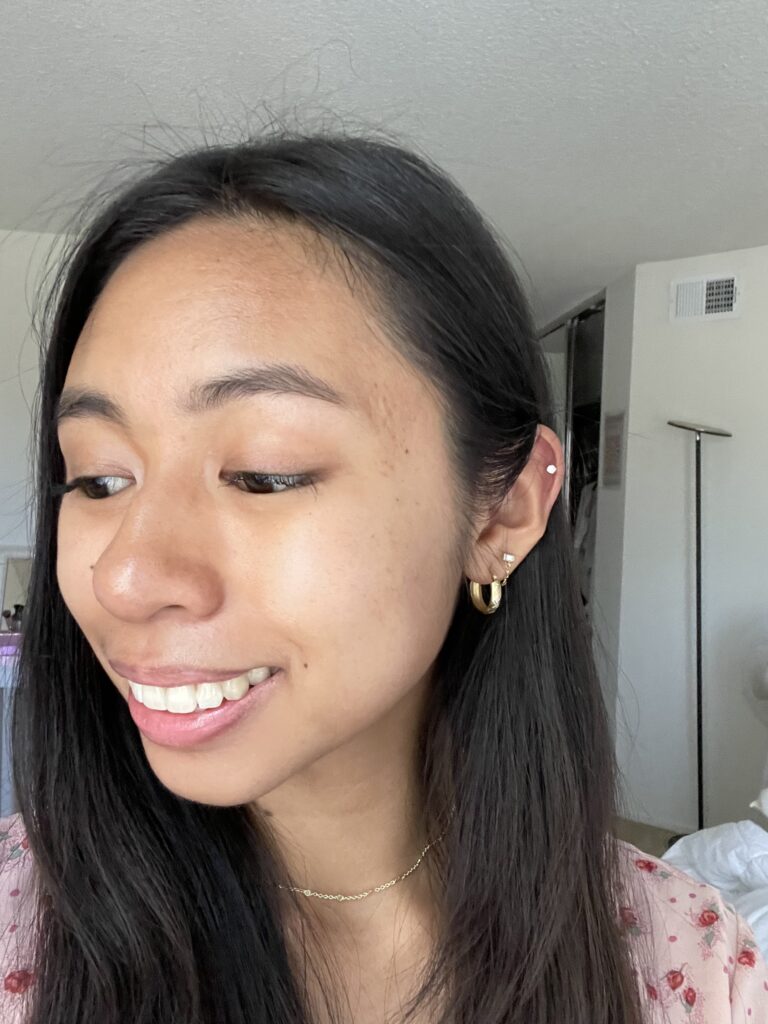
Here are some unedited pics I took on 6/21/23 of my skin after doing my complete routine and filling in my eyebrows, wearing bronzer for eyeshadow, and applying mascara. I didn’t add anything else to the rest of my face and am not wearing foundation. Don’t judge my angles hahaha!
Keep reading for links to all the products I use, and a step-by-step guide of my routine!


Related: 9 Best Pre-Med Tips For College (Free Planning Spreadsheet!)
Related: MS1 Recap: Life as a First Generation Medical Student
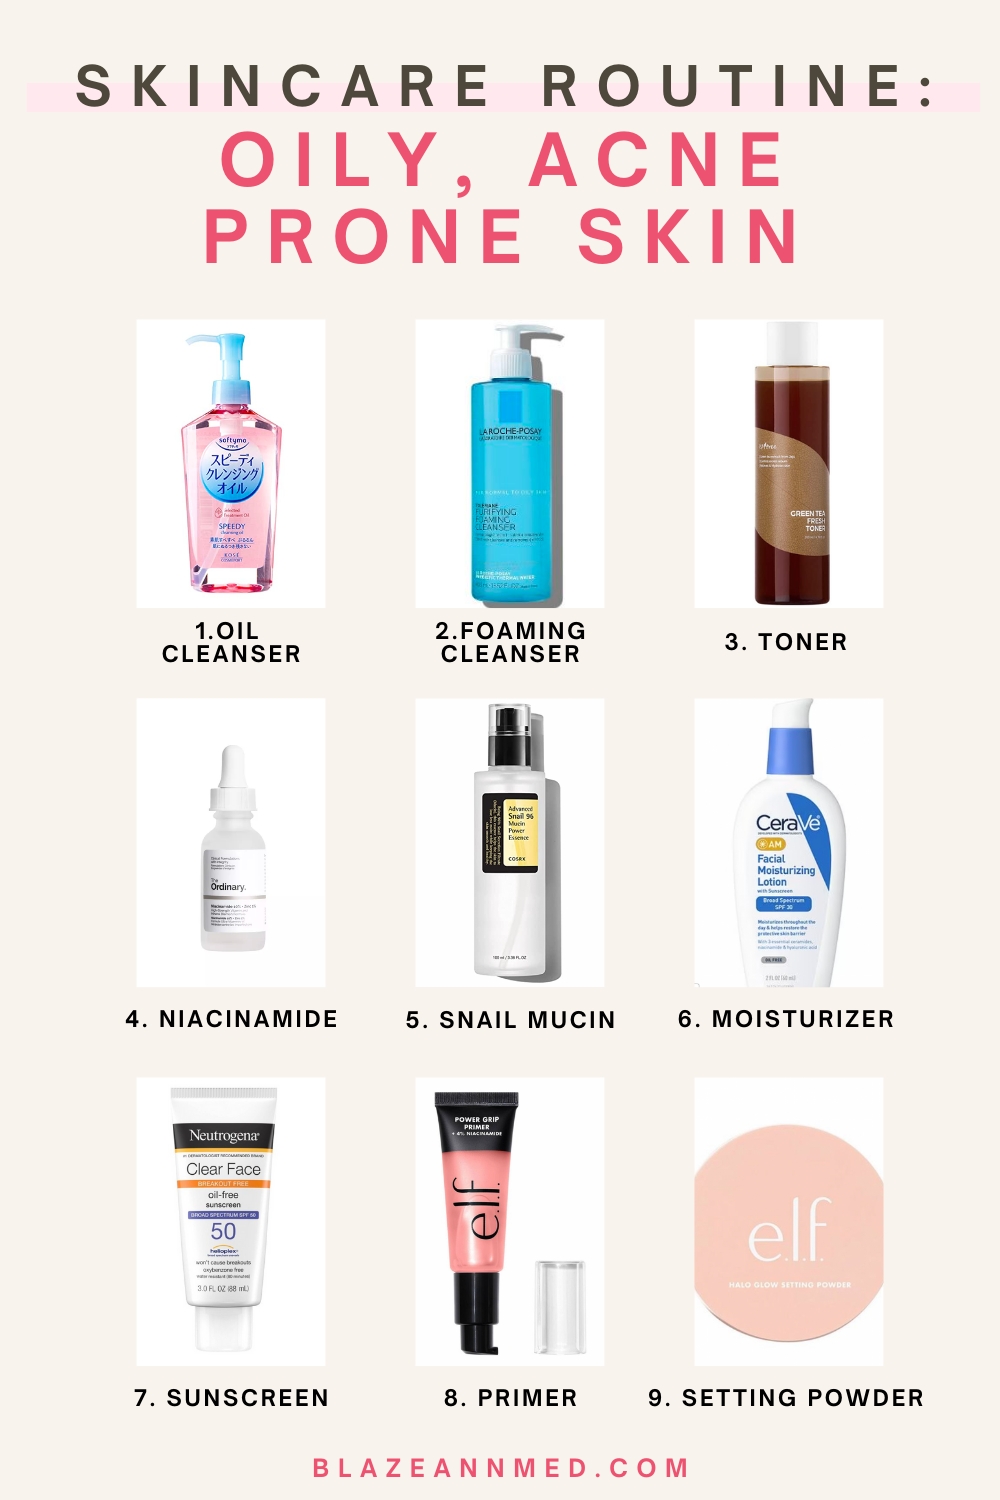
TLDR: My Complete Skincare Routine
For more information on each product, feel free to read the rest of this post!
- Step 1: Oil Cleanser
- Softymo Cleansing Oil or Gokujun Cleansing Oil
- I usually just use oil cleanser at night, right before using the foaming cleanser. If my skin feels extra oily/dirty when I wake up, then I’ll use the oil cleanser in the morning as well!
- Step 2: Foaming Cleanser
- Step 3: Toner
- ISNTREE Green Tea Toner
- use AM & PM
- Step 4: Niacinamide Serum
- Step 5: Snail Mucin
- COSRX Advanced Snail 96 Mucin Power Essence
- use AM & PM
- Step 6: Moisturizer
- Step 7: Sunscreen
- Step 8: Primer
- Step 9: Concealer/Setting Powder
STEP 1: OIL CLEANSER
The first step of my routine is to use an oil cleanser to get rid of any excess sebum, makeup, debris, and dead skin. The oil in the cleanser combines with the oil on our skin and makeup and breaks it down (remember chemistry: “like combines with like!”). This makes it easier for the water-based cleanser in step 2 to get rid of the excess oil and dirt and ultimately reduce acne flair ups. I only started double cleansing this past year, and I honestly highly recommend it, especially if you enjoy wearing makeup!
Note: I usually just use oil cleanser at night, right before using the foaming cleanser, unless my skin feels extra oily/dirty in the morning!
Check out these 2 oil cleansers that I’ve used and love:
STEP 2: WATER-BASED (OIL-FREE) CLEANSER
I’ve been using the La Roche-Posay Facial Cleanser and highly recommend it because it is an oil-free foaming cleanser that specifically removes excess oil. In addition, this cleanser contains Ceramide-3, Niacinamide, and Glycerin, which are all key ingredients for keeping your skin hydrated. Keeping the skin hydrated is important to prevent the skin from over compensating and producing more oil. Niacinamide also benefits the skin by improving the skin’s barrier, reducing pore size, minimizing redness, and controlling oil production.
The important thing to takeaway is that the cleanser’s ability to remove oil as well as niacinamide’s role in controlling oil production play a CRUCIAL role in getting rid of your acne! I’ve jumped around from different types of cleansers such as Biore, Neutrogena, and Proactive. However, La Roche-Posay Toleriane Face Wash Cleanser has been my all-time favorite cleanser!
La Roche-Posay Toleriane Face Wash Cleanser
STEP 3: TONER
Using toner is incredibly important after cleansing to get rid of any remaining dirt/excess oil and to shrink pores. Remember, eliminating excess oil means reducing acne and breakouts! Toners are also beneficial because they help restore the skin’s healthy pH levels since using a cleanser will often raise the pH to more alkaline levels. I’m obsessed with ISNTREE Green Tea Toner because I noticed that it’s more on the gentler side compared to the Thayers Witch Hazel toner. And it leaves my face feeling soft and hydrated!
ISNTREE Green Tea Toner
STEP 4: NIACINAMIDE SERUM
Serums are gel-based or liquid skin care products that are packed with high concentrations of active ingredients. Since serums consist of smaller molecules, the active ingredients can be delivered deeper into the skin. Overall, serums are amazing if you need to target a specific skin concern.
In the cleanser section, I explained that niacinamide is a hydrating ingredient that benefits the skin by improving the skin’s barrier, reducing pore size, minimizing redness, and controlling oil production. The Ordinary’s Niacinamide 10% + Zinc 1% serum helps with all of these, especially with reducing the redness of your pimples. I’ve been using the serum for about a month now, and it really helps with getting rid of my acne! This is a MUST HAVE!
The Ordinary Niacinamide 10% + Zinc 1%
STEP 5: SNAIL MUCIN
For those with oily, acne prone skin, I cannot recommend the COSRX Advanced Snail 96 Mucin Power Essence enough. With 96% of the formula containing snail mucin, my skin instantly feels moisturized and is a great product to use immediately after washing my face. For me personally, it has also helped greatly in reducing my acne blemishes as well as smoothen my skin’s texture!
COSRX Advanced Snail 96 Mucin Power Essence
STEP 6: MOISTURIZER
Moisturizing has multiple benefits for the skin! Not only does it help control oil production, but it fights wrinkles, reduces the appearance of blemishes, and locks in all of the key ingredients added in the previous steps. Remember to moisturize during the day and night!
During the day, I’ve been using the CeraVe AM Facial Moisturizing Lotion SPF 30, which I absolutely love! It’s oil-free, which prevents your pores from getting clogged with more oil. It also contains Ceramide-3, Niacinamide, and Glycerin, which are all key ingredients for keeping your skin hydrated and controlling oil production. Remember, minimizing the amount of oil on the skin will prevent acne! The moisturizer also incorporates sunscreen, which is incredibly important for maintaining even skin tone, reducing effects of sun damage, and preventing premature aging of the face!
CeraVe AM Facial Moisturizing Lotion SPF 30,
For night time, I the Cerave Daily Moisturizing Lotion for both face and body (doesn’t contain SPF)! It also consists of the 3 essential ceramides and hyaluronic acid!
CeraVe Daily Moisturizing Lotion
STEP 7: SUNSCREEN
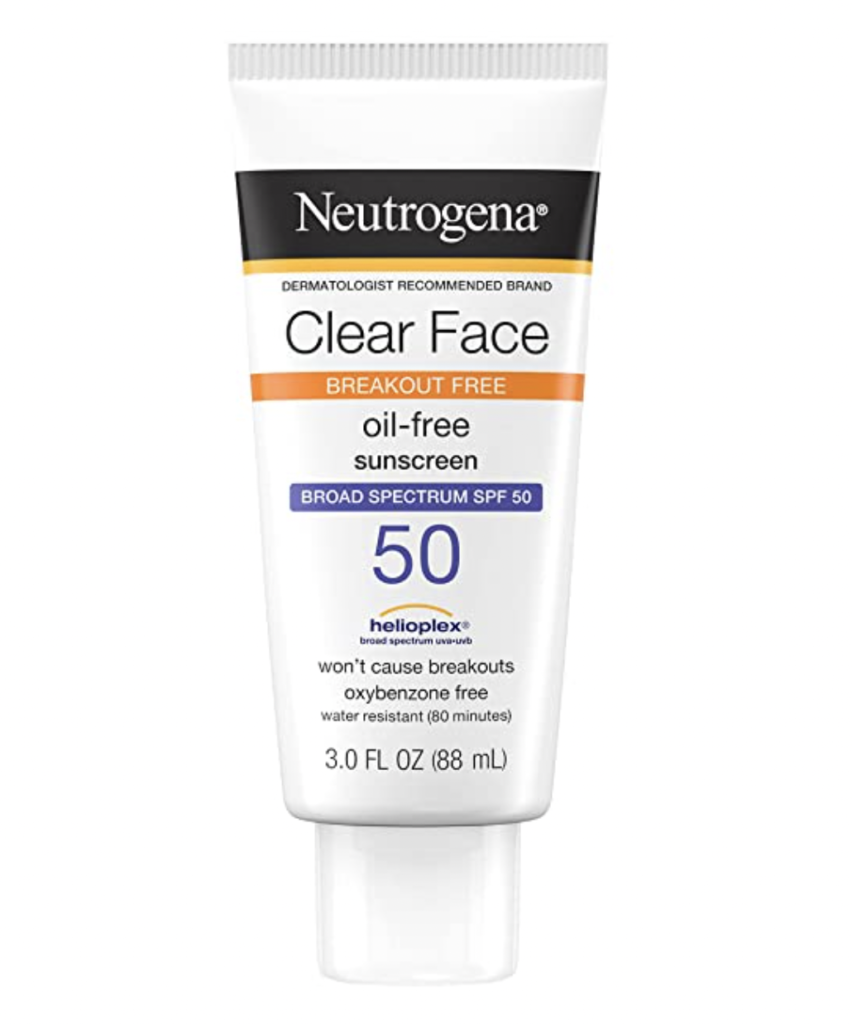
On days where I know I’ll be in the sun for a while or just in the summer in general, I layer my moisturizer with the Neutrogena Oil-Free SPF 50 Sunscreen. It’s oil-free and personally doesn’t lead to pilling or breakouts on my face! This is just for an extra protection against sun damage, which is known wrinkling, pigmentation, and uneven skin texture.
Neutrogena Oil-Free SPF 50 Sunscreen
STEP 8: PRIMER
Although most people apply primer before makeup, it can actually stand on its own! Primer helps with controlling shine and minimizing pore appearance. I’ve been using the E.L.F. Power Grip Primer with Niacinamide and highly recommend it! Because of its gel consistency, it doesn’t leave a white cast and it leaves my skin appearing dewy and refreshed. It’s also the perfect base for makeup because of its sticky texture. Not to mention it contains niacinamide!
E.L.F. Power Grip Primer with Niacinamide
STEP 8: CONCEALER + SETTING POWDER
I know not everyone uses concealer and setting powder, but I wanted to share the products I’ve been using in case you need some recommendations! I really only use concealer for under my eyes, and I love the Maybelline Instant Age Rewind Eraser because it looks very natural and doesn’t leave any harsh creases unlike other concealers that I’ve tried!
Maybelline Instant Age Rewind Eraser
If you have super oily skin like me, I like using setting powder as my final step (after primer) to just create a smooth, matte finish for my face and add another layer of control for my oil. I’ve been using the Laura Mercier setting powder that was gifted to me. I know that this is more expensive, so I recommend trying out the E.L.F. Halo Glow Setting Powder since it is known to be a dupe for Laura Mercier’s!
E.L.F Halo Glow Setting Powder
Thanks so much for reading! I truly hoped that this helped you with curating your skincare routine. Let me know what type of posts you want to read next!
Love,
Blaze Ann
